In graphic design, being creative with curved lettering can highlight content and create a stronger impression, helping the design express content more effectively.
1. What is Canva?
Canva is a powerful, easy-to-use online design tool that's great for beginners and pros alike. Canva offers thousands of free and premium templates for everything from posters to banners to social media posts.

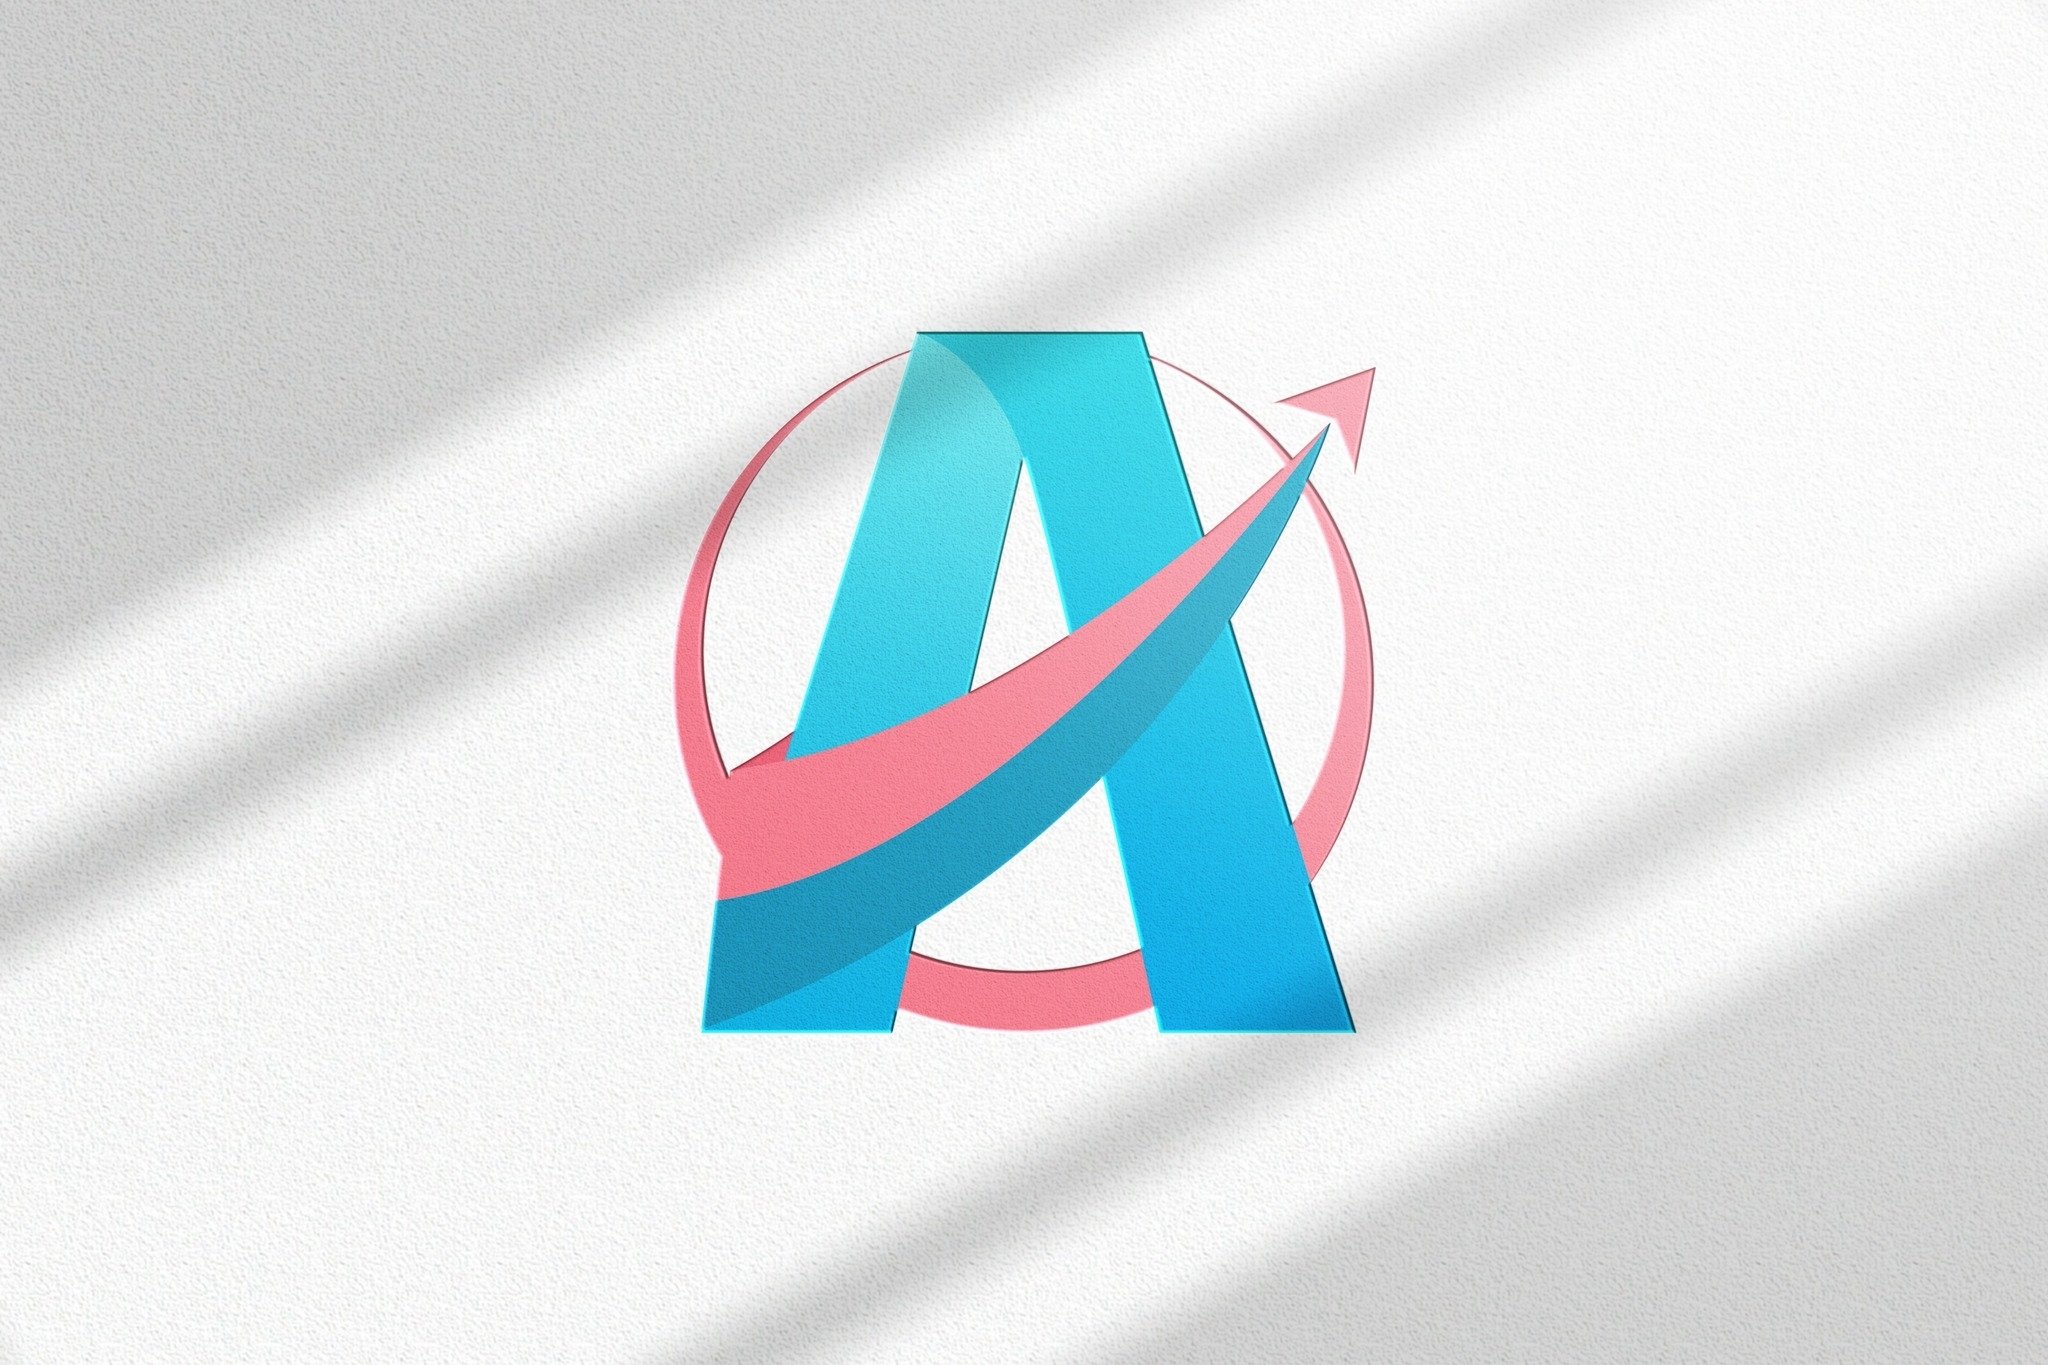
How to write curved text in Canva for more inspiring designs. (Illustration)
2. Benefits of using curved letters
Make it stand out: Curvy letters create interest and make your design stand out.
Make data visualizations more engaging: Create compact, space-saving diagrams for presentations and reports. You can also design Venn diagrams and pie charts with curved text captions that fit inside or around the circles, making presentations look concise and easy to read.
Create artistic text styles: With Canva’s curved text generator, circular text isn’t the only text effect you can create. You can easily combine curved text to create waves, swirls, and other patterns – and you’ll have a variety of promotional posters, stickers, background templates, and other presentations for your social media stories.
You can also experiment with orientations, angles, changing color schemes, layouts, and various Curved Text styles.
Easy to style logos: Curved text is a great choice for designing a logo or badge for your business. Curved text allows you to incorporate your brand name, service, or tagline into the visual image of a circular symbol. This makes it easy to create a consistent look for your logo, and you can easily print it into circular stickers, badges, bags, or other branding assets.
3. Instructions on how to write curved text in Canva
Step 1: Create a new design
Choose the type of design you want to create, such as an Instagram post, poster, etc. You can start from a ready-made template or from a blank design.
Step 2: Add text
Select “Text” from the left toolbar.
Click “Add a heading”, “Add a subheading” , or “Add a little bit of body text” depending on your needs.
Enter the text you want to curve.
Step 4: Bend the letters
Select the text you want to edit.
Click “Effects” on the toolbar above.
In the effects menu, select “Curve” .
Step 5: Adjust the curvature
After selecting the "Curve" effect, you can adjust the curvature by dragging the slider. Move it left or right to change the curvature as desired.
You can combine with other effects or change the font to make the design stand out even more.Step 6: Save and share the design
Once you are satisfied with the design, click “Download” to save the design to your computer or share it directly to social media platforms.
4. Great tips with curved text
Combine multiple effects: Combine curved text with other effects like drop shadows, gradient colors to create more professional designs.
Fine-tune font size and spacing: Adjust font size and spacing for aesthetic appeal.
Use the right font: Choose a font that fits your message to increase engagement.
Source


![[Photo] Ministry of Defense sees off relief forces to the airport to Myanmar for mission](https://vstatic.vietnam.vn/vietnam/resource/IMAGE/2025/3/30/245629fab9d644fd909ecd67f1749123)


![[Photo] Prime Minister Pham Minh Chinh chairs meeting to remove difficulties for projects](https://vstatic.vietnam.vn/vietnam/resource/IMAGE/2025/3/30/7d354a396d4e4699adc2ccc0d44fbd4f)


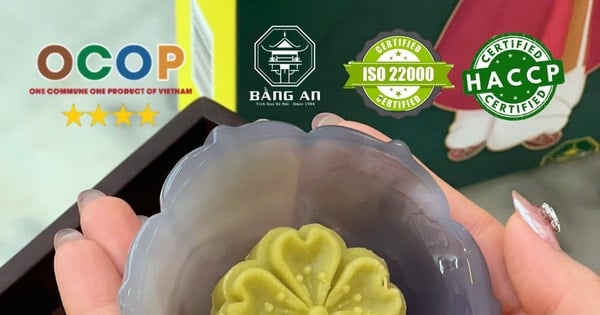

![[REVIEW OCOP] An Lanh Huong Vet Yen Cat](https://vstatic.vietnam.vn/vietnam/resource/IMAGE/2025/3/27/c25032328e9a47be9991d5be7c0cad8c)


Comment (0)