
 |
Below is the sequence of steps to make watercolor paintings using Photoshop from real photos on the computer that you can refer to.
Step 1: First, you need to create a new Photoshop file by selecting File on the Menu bar. Next, click New or use the key combination Ctrl + N to open a new file.
 |
Step 2: Once you have opened the new file, insert the photo you want to convert into a watercolor painting by clicking the File button on the Menu bar, then click Place Embedded and select the photo you want to insert from the library.
 |
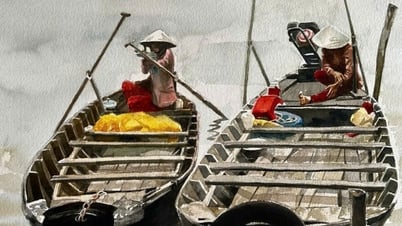
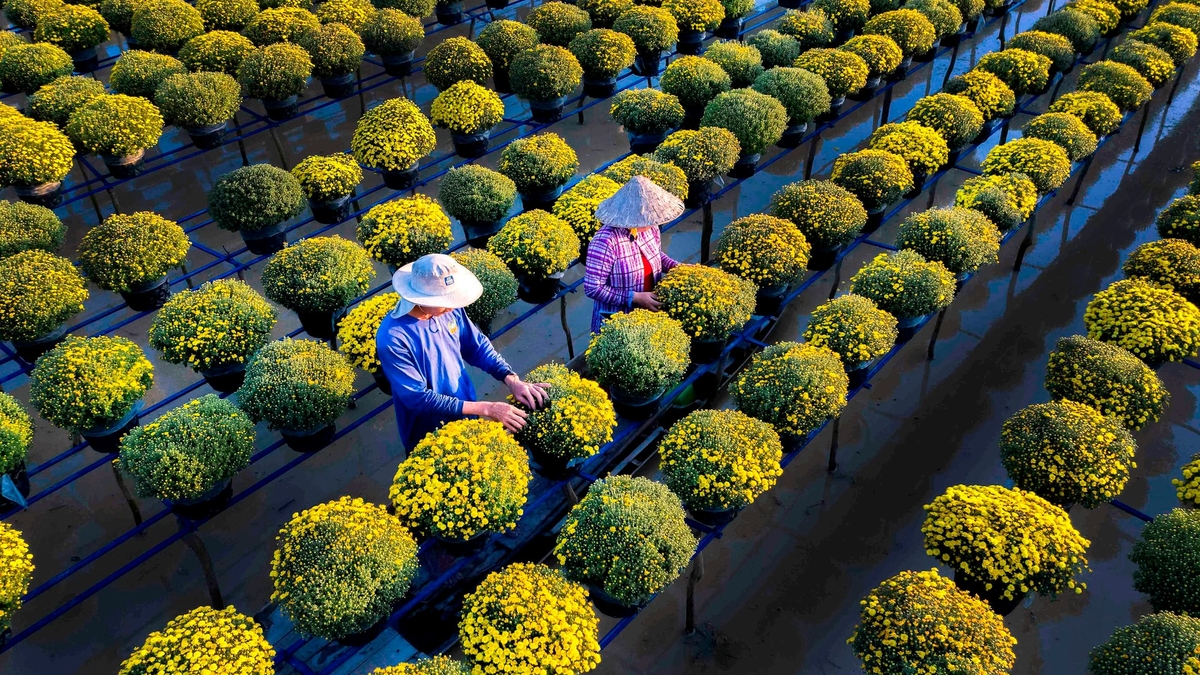
Here, I insert a picture of a tulip garden.
 |
Step 3: Once you have inserted the image into the working screen, duplicate the image layer by pressing Ctrl + J to have two identical image layers.
 |
Step 4: On the Menu bar, go to Filter and select Filter Gallery to open the Watercolor dialog box.
 |
Step 5: When the dialog box opens, click on Artistic. Next, click on Watercolor and set the parameters as in the photo and then click OK to apply the effect to the photo.
 |
This is the photo after the watercolor effect was applied.
 |
Step 6: Now, you continue to duplicate the layer that just applied the effect by pressing Ctrl + J and name it Outline.
 |
Step 7: In that layer, select Filter. Then, click on Stylize and select Find Edges to display the edges around the object.
 |
As shown in the image below, we can see the objects are shown with outlines.
 |
Step 8: In the Outline layer, change the Blending Mode from Normal to Darken as shown below.
 |
Step 9: To soften the lines, use blending mode by clicking on Filter, select Blur and then click on Gaussian Blur to open the dialog box.
 |
Then, you adjust the Radius parameter to about 6.6 and press OK to blend the lines so that the picture is not stiff.
 |
And this is the result we get. The real photo has turned into a watercolor painting.
 |
Here is a detailed guide on how to create watercolor paintings using Photoshop from real photos. Good luck!
Source
![[Photo] General Secretary To Lam attends the Vietnam-UK High-Level Economic Conference](https://vphoto.vietnam.vn/thumb/1200x675/vietnam/resource/IMAGE/2025/10/30/1761825773922_anh-1-3371-jpg.webp)
![[Photo] General Secretary To Lam meets former British Prime Minister Tony Blair](https://vphoto.vietnam.vn/thumb/1200x675/vietnam/resource/IMAGE/2025/10/30/1761821573624_tbt-tl1-jpg.webp)
![[Photo] The Third Patriotic Emulation Congress of the Central Internal Affairs Commission](https://vphoto.vietnam.vn/thumb/1200x675/vietnam/resource/IMAGE/2025/10/30/1761831176178_dh-thi-dua-yeu-nuoc-5076-2710-jpg.webp)
![[Photo] Touching scene of thousands of people saving the embankment from the raging water](https://vphoto.vietnam.vn/thumb/1200x675/vietnam/resource/IMAGE/2025/10/30/1761825173837_ndo_br_ho-de-3-jpg.webp)


Comment (0)